Pinguicula on Tuff brick
Tufo brick is one of the cultivation methods used for Mexican Pinguicule.
Here I will show you how to model a tuff brick to best cultivate your Mexican Pinguicule.
Why use tuff?
The tuff is a sedimentary rock, in particular it is the most common of the pyroclastic rocks.
Although the name "tuff" should be properly reserved for formations of volcanic origin, it is used to
indicate different rocks, united by the fact of being light, of medium hardness and easily workable.
Thanks to these characteristics, it lends itself well to the cultivation of Mexican Pinguicule.
The materials we will need to shape the tuff are few and easily available in every home.
Materials:
- Hammer
- Large Phillips screwdriver (for use as a chisel)
Method:
-
Take a completely dry tuff brick.
-
Decide on the final size of our block of tuff. My advice is to create a block of tuff so that the distance between the
top of the block and the edge of the water in the saucer is between 10 and 15 centimeters.
This height range allows us to have an ideal block humidity because below 10cm the block will be too soaked with water, while above 15cm, the water will not be able to easily reach the top of the block due to capillary risk of having too much humidity low.
-
To get the block of the dimensions I decided from the initial brick using only a screwdriver and hammer, my advice is to drill holes with
the screwdriver on the sides to be cut initially very superficial and then increasingly deeper.
This will allow the created micro-cracks to connect with each other and make a fairly precise block break (obviously not perfect, but in my opinion in this case the imperfection recreates a much more natural rock).
-
Once we get our block, we start to shape it as we like, always using the screwdriver as a chisel.
Be very careful to give light hammering otherwise you risk that the block of tuff breaks!
-
Now that we have our shape, let's create a groove where we want to place our pinguicula.
We can do the furrow both at the top and on the side of the block.
To make the groove just take the screwdriver and with a slight pressure turn it on the tuff to create a hole.
We carry out this operation several times in areas adjacent to the first hole to enlarge it and try to reach a hole depth of no more than 3 / 4cm.
-
Once the hole is finished we can move on to the sanding part of the block which can be simply made by rubbing
the tip of the screwdriver on the surface we want to sand.
-
Once the sanding is complete, we pass our block under running tap water.
This step serves us for two reasons, the first is to eliminate all the residual tuff powder and the second to uniformly wet our block.
-
Keep the block in 3/4 cm of water for at least one day to ensure that the inside of the block also gets completely wet.
-
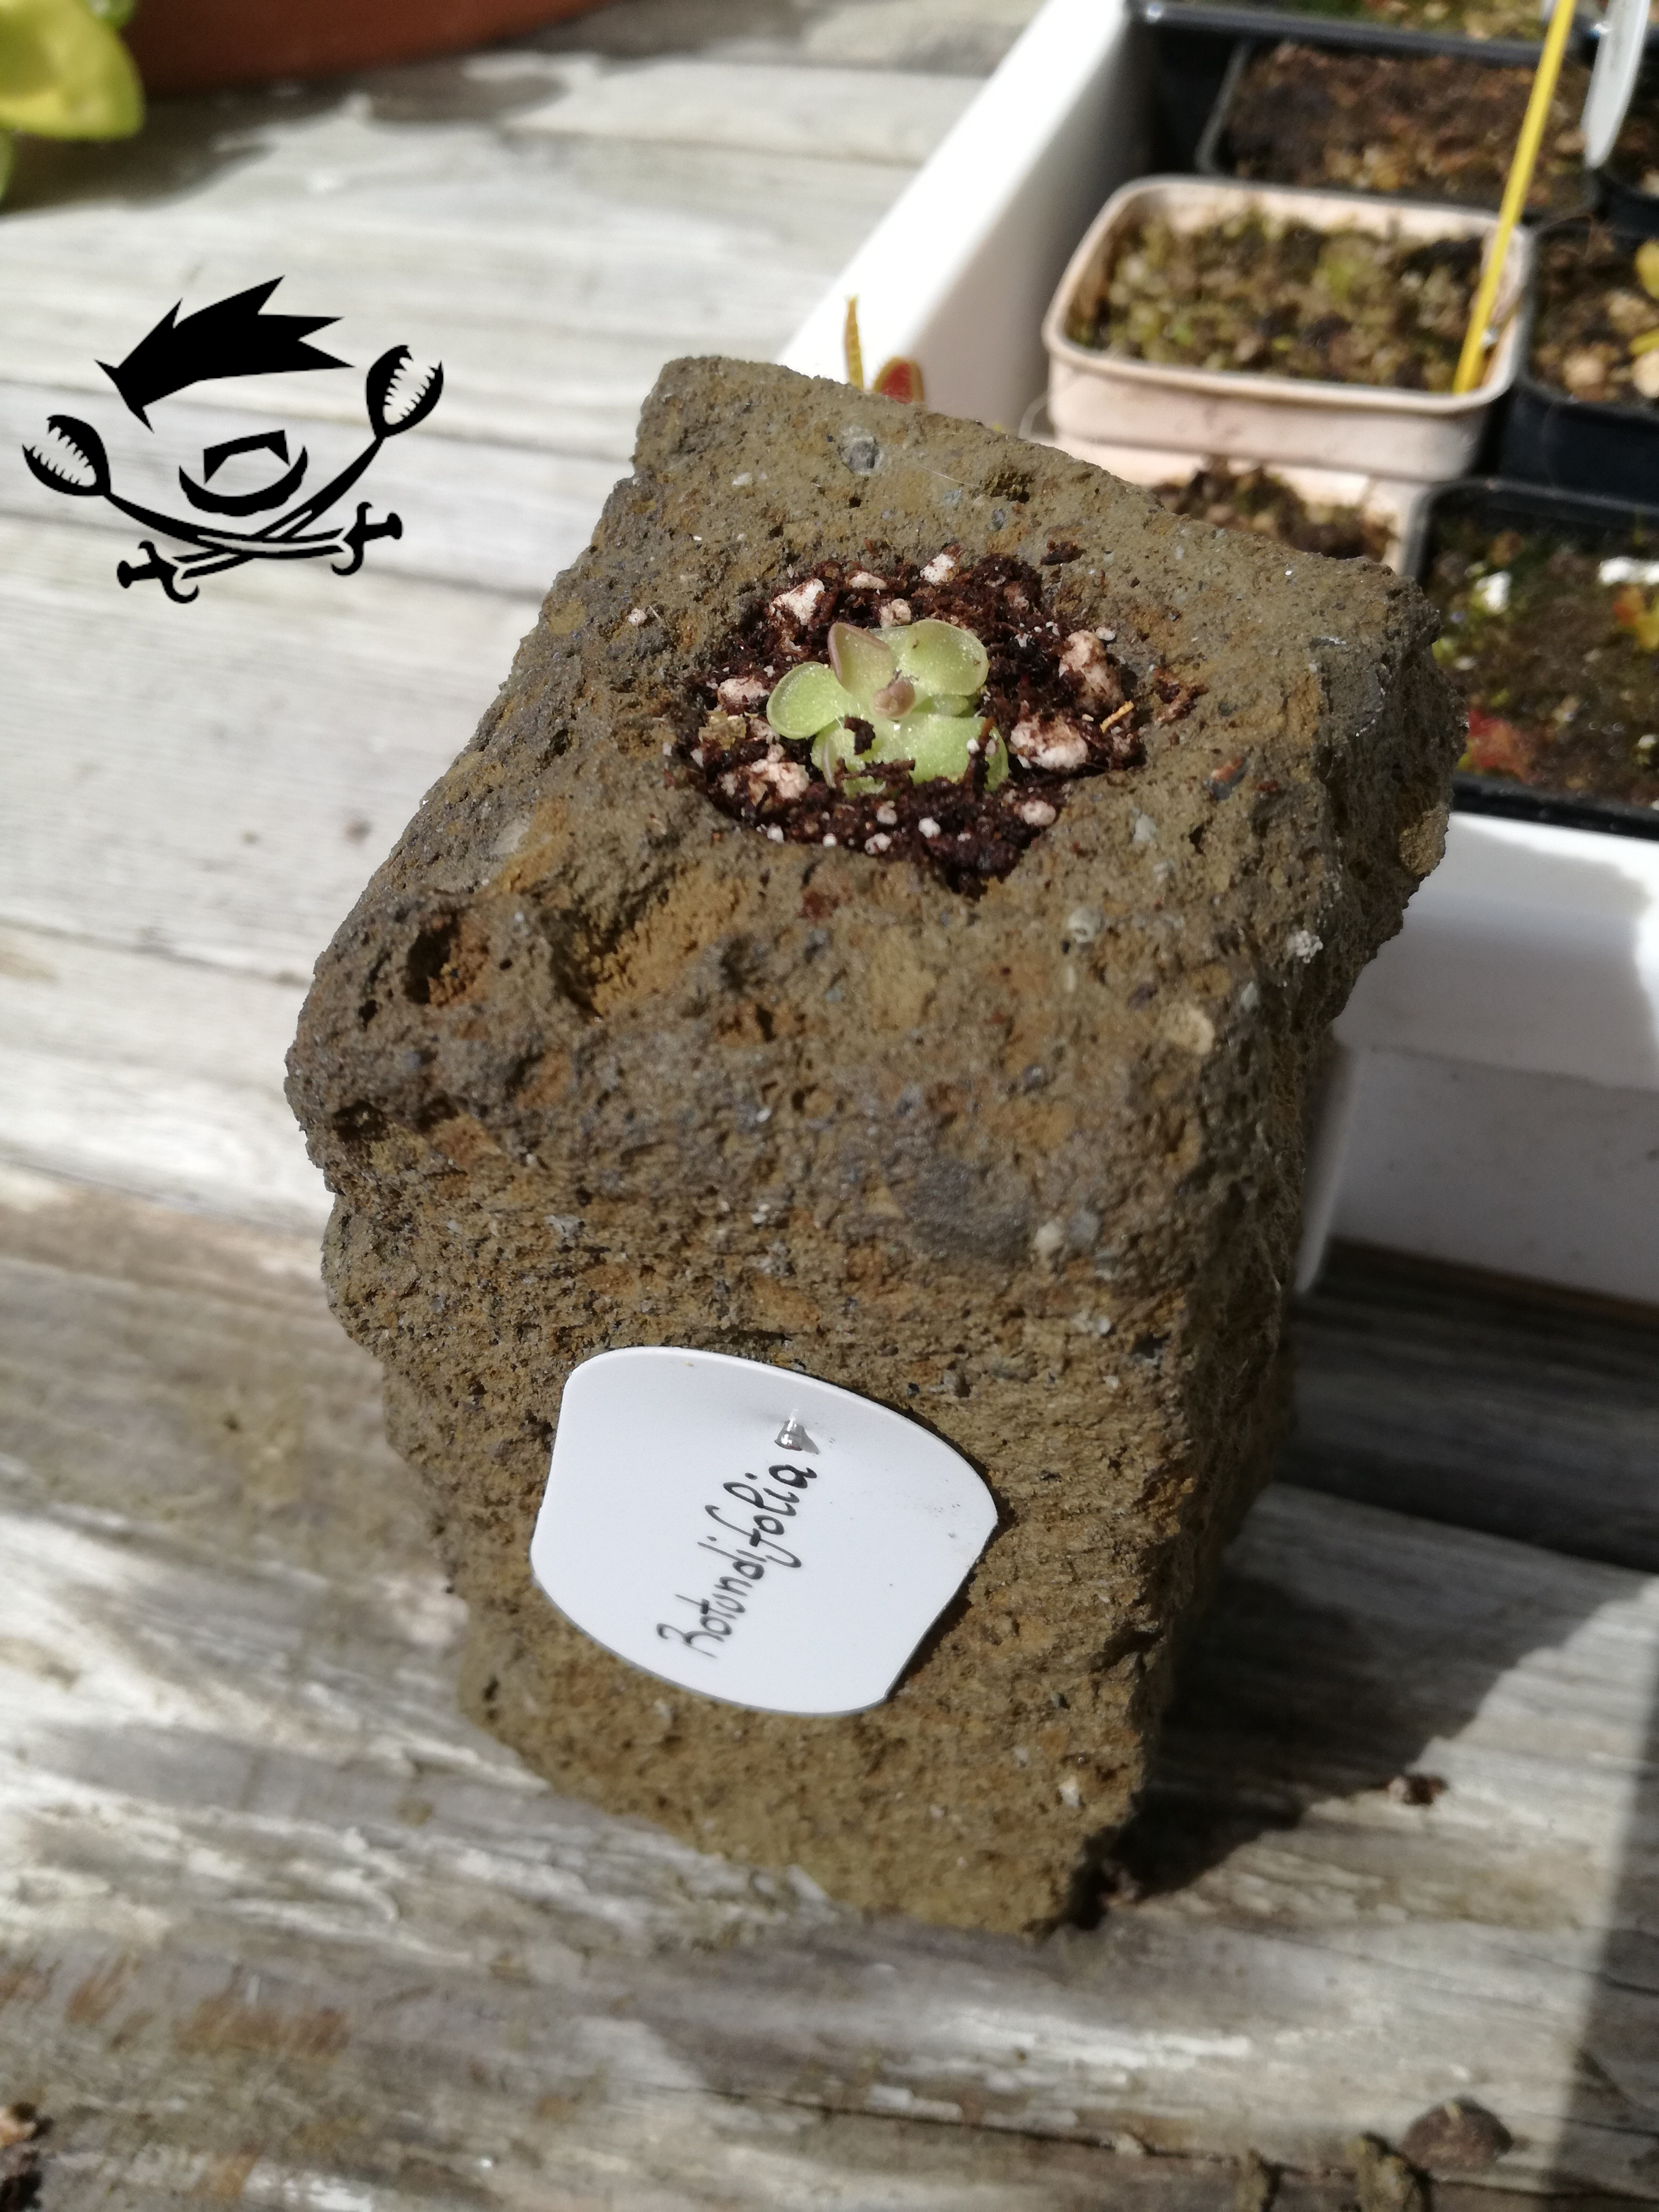
Now we have our block of tuff ready to host our Mexican pinguicula!
In the hole insert the substrate you use for your pinguicule and transplant it normally.
Place the tuff in a saucer or box containing water, but remember to keep the distances between the top of the block and the edge of the water between 10/15 cm!
Place your Penguins in a place where there is a lot of light, but not in direct sunlight (I keep them under a 50% shade cloth).
- Happy growing!